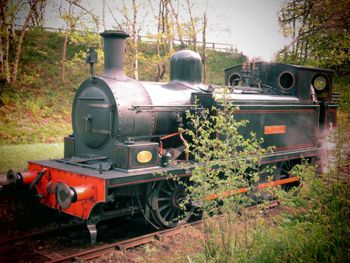
I really like it, but at the same time, I still prefer to take images in P mode and edit them later. So in this post, and the next, I'm going to show two ways of 'faking' the toy camera look in Photoshop.
First, I've opened my image. You can see that it's a fairly flat and lacklustre image, as most digital photos are when they're straight from the camera.
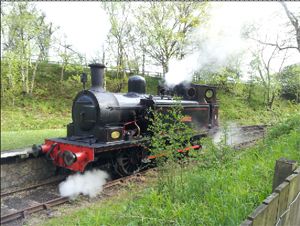
Next, I've cropped the image to easily centre the engine. I usually divide the width by the height of the image to get the ratio, to ensure that any cropping preserves the proportions of the image. For this camera, the ratio is 1.33.
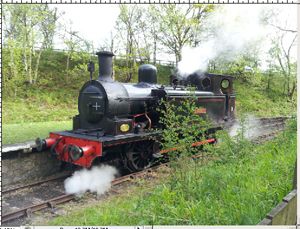
Now, I've added a Curves image adjustment layer to boost the contrast. An easy way to do this is to create an S curve by moving curve up at the top right point, and down at the bottom left point.
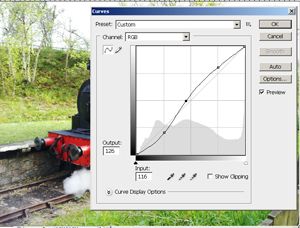
Next, I added another Curves adjustment layer, but in this case, I changed the channel using the dropdown box. I added curves for the Red, Green and Blue channels to give the image that red cast.
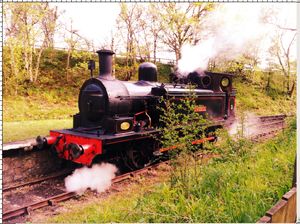
Finally, I added a dark brown layer over the top, set the blending mode to 'Multiply', lowered the opacity, and used a layer mask to paint out the centre. This gives the vignette look so common to toy cameras.
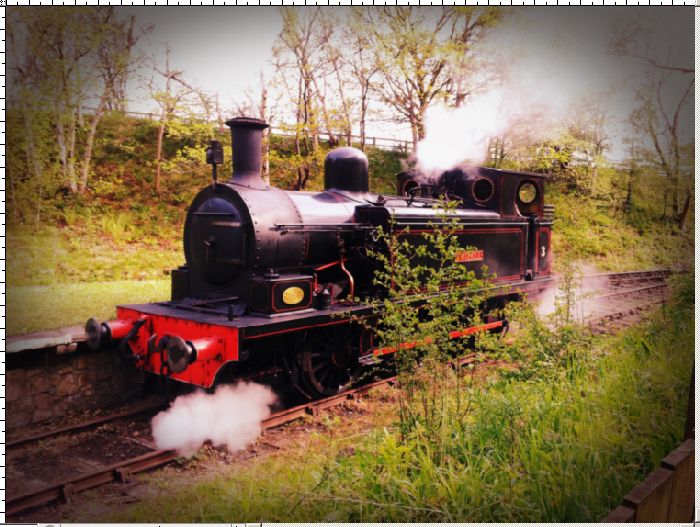
And that's it! Next week I'll post the alternative method as well.



Your manipulations do add a lot of character to the picture. I think the vignette was a little heavy, compared to toy-camera mode, but it looks really cool. (And thumbs up for avoiding the lens-flare temptation!)
ReplyDeleteI had an older Powershot, that I replaced with the DSLR when it died. It had a full-manual mode - does yours have that option? Even with having to use menus instead of real knobs, I was generally more satisfied with the results.
I only went OTT on the vignette to demonstrate it better! I hate adding lens flare, unless there's already flare in the image and I'm just making it a focal point.
DeleteI'm not sure if my Powershot has a manual mode - I know it allows you to set ISO and exposure etc. but I've never checked if I can alter aperture or shutter speed.