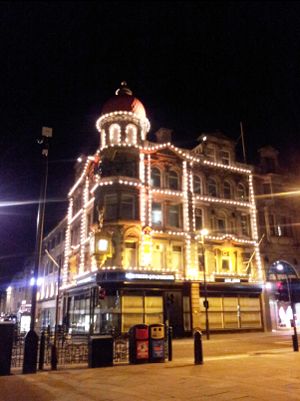
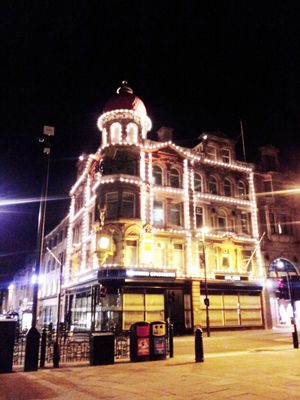
It's always a shame when you take a photo at night and find that even if you used a decent shutter speed or a flash, the image is still a little dark. So today we'll have a look at a quick and easy way to lighten your images in Photoshop. I'm using an image of the Northern Goldsmiths jewellers in Newcastle upon Tyne.
Open your photo. You won't get very far if you don't.
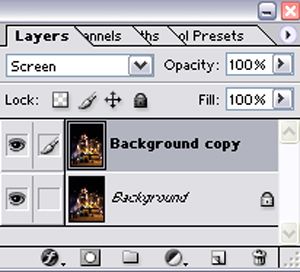
Now, duplicate the layer. Either drag the Background layer down to the New Layer icon, or just press Ctrl+J/Cmd+J. Set the blending mode of this layer to 'Screen'.
It already looks lighter, but we need to do a bit more to it to improve its look.
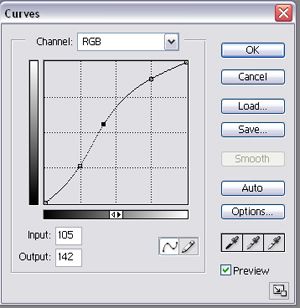
Click on the Adjustment Layers icon at the bottom of the layer palette and select 'Curves'. Give yourself an S curve a bit like this, to boost the highlights and darken the shadows.
The settings you choose will depend on your image, but an S curve of some description is a pretty safe bet. You'll get an image with more contrast. It already looks less 'flat' than the image that came out of the camera.
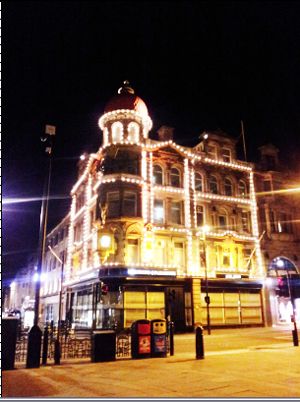
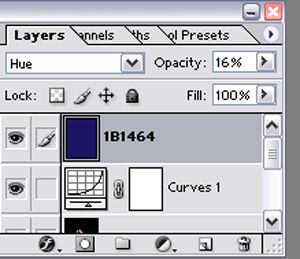
It's kind of yellow, which you could fix by altering the colour balance with a new adjustment layer, but I want a bit of a 'filter' effect. I've created a layer that I flood filled with dark blue (hex code 1B1464). I set this to Hue and lowered the opacity.
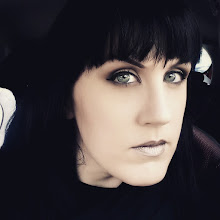
You should end up with something a bit more like this!
And there you go! It's such a simple technique, and by altering the curves or using different coloured overlays, you can achieve all kinds of effects depending on what you're going for. Have fun!