Tweet
It's staff development today at work, so I took advantage of a workshop being offered in using the vinyl cutter. The machine can cut into vinyl to be used for both window decals, and clothing applications. I've decided to show off both usages!
First off is my Billy Idol T-shirt. I've been after one for while but I never found one I liked. So I bought a blank white T-shirt from M&S and created this artwork using an album cover image in Photoshop. I brought it into Illustrator, used Live Trace, and then sent it to the vinyl cutter. I peeled away the parts now showing in white, and hot-pressed it onto the T-shirt. Cool, huh?
Next up is my vinyl window decal. I created this one using nothing but the Pen Tool and the Rotate Tool in Illustrator, and sent it to the vinyl cutter. I did actually get it slightly wrong as I wanted to have the outlines online, but I like how it turned out. I peeled away the inverse parts, added adhesive paper, and stuck it to the window of the print room. So simple!
Last but not least, I also had a go with the badge maker. I took an Illustrator design I'd done previously, of stylised cupcakes, and stripped the colour to leave behind only the outline. I printed this out and put it through the badge maker. If you like the pattern, you can find it at Spoonflower. I'm awaiting a test swatch and if it's good enough, I'll make it available for sale!
Thursday, 28 June 2012
Tuesday, 26 June 2012
Brand new blog
Tweet
I've been toying for some time with the idea of setting up a blog dedicated to my creative endeavours, particularly since I don't want to clog up my main writing blog with photos of knitting, or examples of photography. So here we go with a brand new blog, about all things design and craft-related.
Might as well kick things off with some examples of my creative photography, all of which were taken last weekend on a trip to Robin Hood's Bay in North Yorkshire.

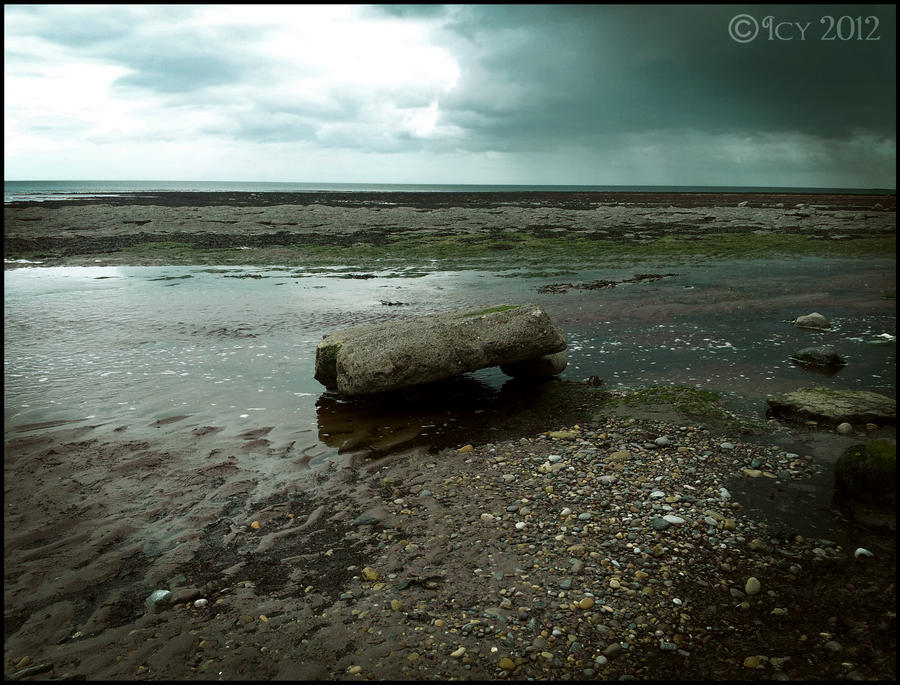
This is a photo of a rock that had fallen over. I thought it looked a little like a giant's table, and I've edited it using the 'dark processed' lomo effect that Chris Spooner featured over on his blog. Naturally my end product has come out slightly differently as I used a different source image, but it just goes to show how you can adapt tutorials to suit your own needs.

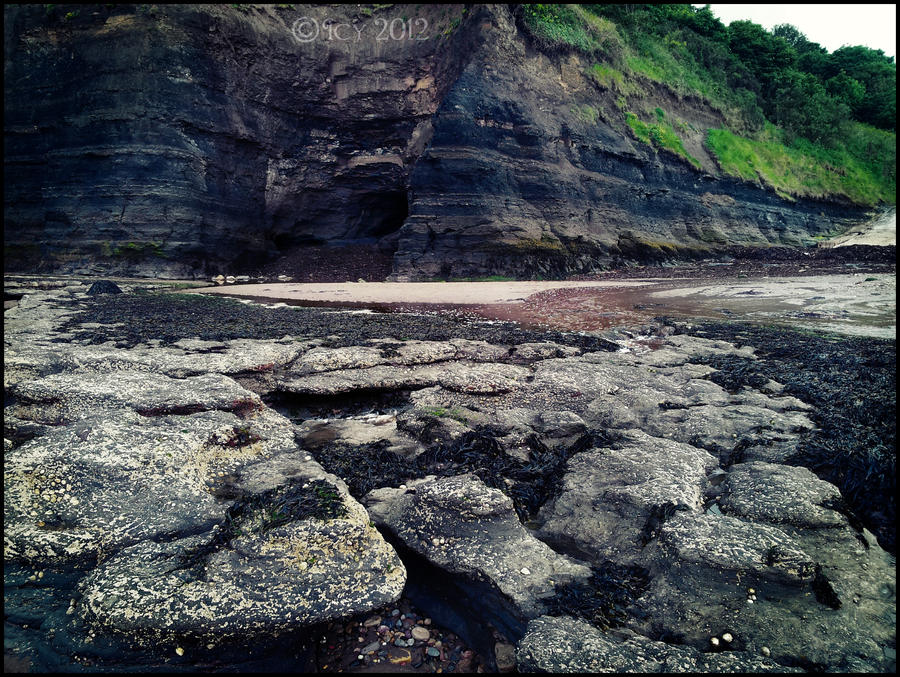
This is a cave going into the rock face - I was trying to capture how the water level starts higher than where I was standing but you can only do so much with a phone camera! I was trying out the Match Color option within Photoshop which allows you to add a 'vintage' feel to your image's colours, although I think it would have worked better on a different source image.

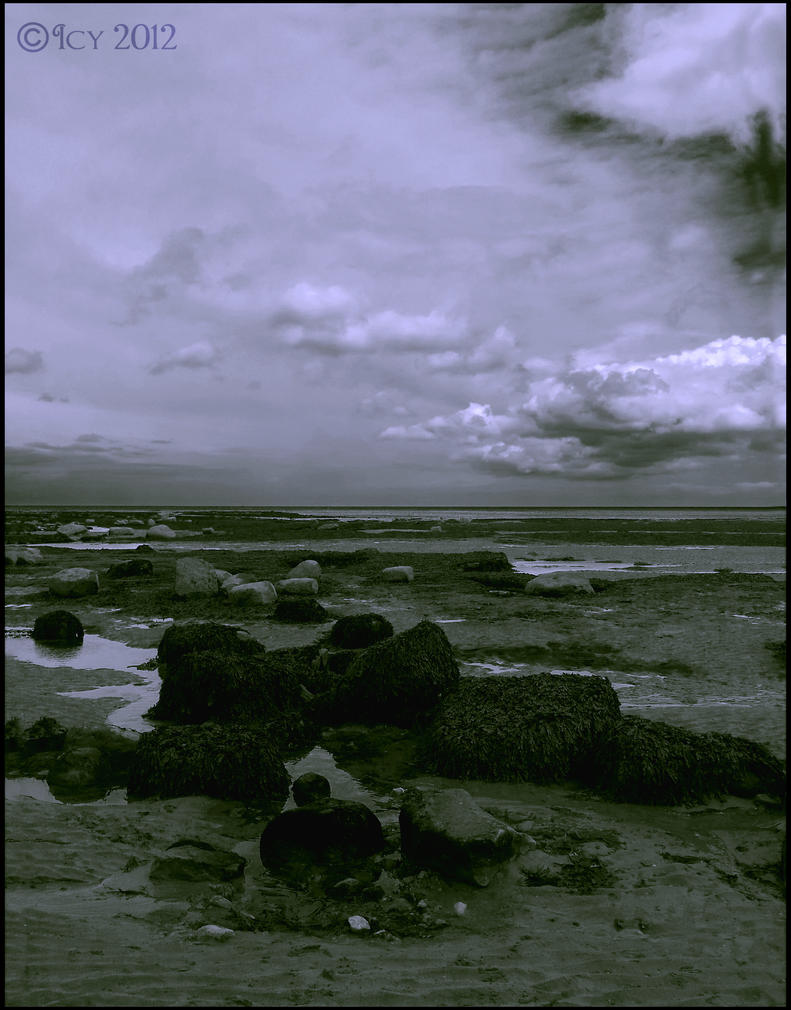
This is a standard shot of the beach and the sky beyond, although I enhanced it using the split processing method. It's incredibly easy and really helps to add a sense of atmosphere to a shot.
So there we go! My first post, and some of my photography. Hopefully you'll find the tutorials I've linked to as useful as I have!
Might as well kick things off with some examples of my creative photography, all of which were taken last weekend on a trip to Robin Hood's Bay in North Yorkshire.

This is a photo of a rock that had fallen over. I thought it looked a little like a giant's table, and I've edited it using the 'dark processed' lomo effect that Chris Spooner featured over on his blog. Naturally my end product has come out slightly differently as I used a different source image, but it just goes to show how you can adapt tutorials to suit your own needs.

This is a cave going into the rock face - I was trying to capture how the water level starts higher than where I was standing but you can only do so much with a phone camera! I was trying out the Match Color option within Photoshop which allows you to add a 'vintage' feel to your image's colours, although I think it would have worked better on a different source image.

This is a standard shot of the beach and the sky beyond, although I enhanced it using the split processing method. It's incredibly easy and really helps to add a sense of atmosphere to a shot.
So there we go! My first post, and some of my photography. Hopefully you'll find the tutorials I've linked to as useful as I have!
Labels:
creative photography
,
design
,
photography
,
Photoshop
,
tutorials
Subscribe to:
Comments
(
Atom
)


