
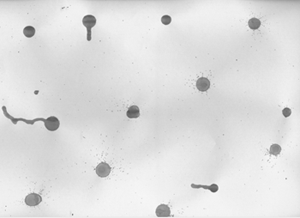
1) Produce your page of mixed media and scan your image.

2) Go to Image > Adjustments > Desaturate.
3) Using the Lasso Tool, draw a selection around one of the ink splats. Press Ctrl/Cmd + C to copy the selection.
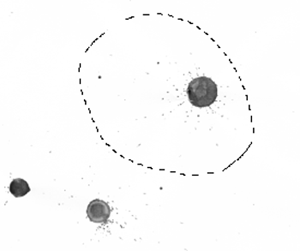
4) Now create a new document (Ctrl/Cmd + N) and press Ctrl/Cmd + V to paste the selection into the new page.

5) Press Ctrl/Cmd + L to bring up the levels window. Drag the left hand slider in to darken the splat. Now go to Edit > Define Brush Preset and give it a name.

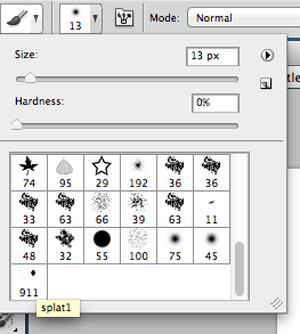
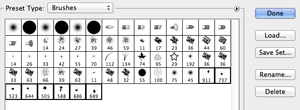
6) If you open the Brush palette, you’ll see your new brush!
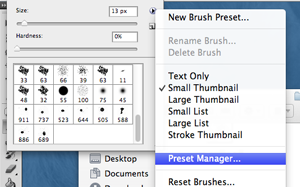
7) Repeat the process for all of your other splats. When you’re finished, click on the small arrow in the top right of the Brush palette. Choose Preset Manager from the dropdown menu.
8) Click on the first of the brushes you made. Press Ctrl/Cmd and click on all of them. When you’ve selected them all, click ‘Save Set’ and give it a name.
You can now load these brushes into Photoshop on different machines. If you want to download these readymade ink splat brushes, you can find them here.


0 comments :
Post a Comment